Use multiple Java versions in MultiMC
Newer versions of Minecraft require at least Java 16 to run. Previous Minecraft versions use Java 8 to run. This tutorial explains how to use more than one Java version in MultiMC to run instances of the newer MC versions with Java 16, and instances of older Minecraft versions with Java 8.
If you already have Java 8 installed, you will need to download Java 16. But instead of downloading a Java 16 installer, you will download a Java 16 zip file.
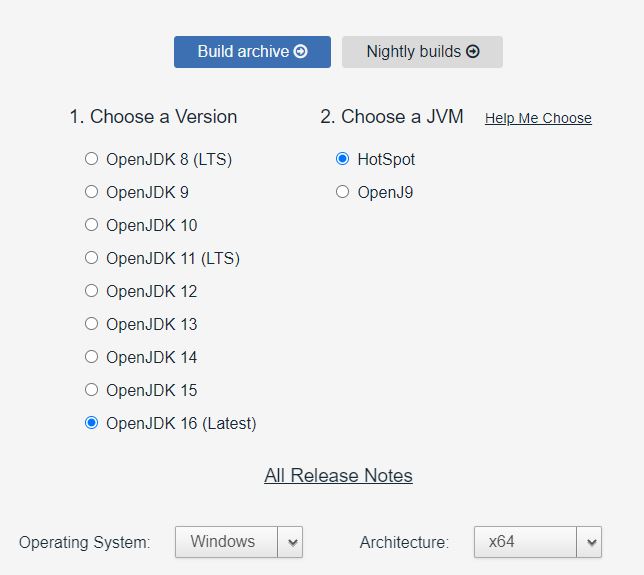
Open https://adoptopenjdk.net/releases.html?variant=openjdk16&jvmVariant=hotspot and pick your Operating System and Architecture (x64 usually)

Now download the JRE zip file:

Once downloaded, create a folder anywhere, for example C:\java and move the zip file you downloaded to the folder you created. Unzip the file in that folder.

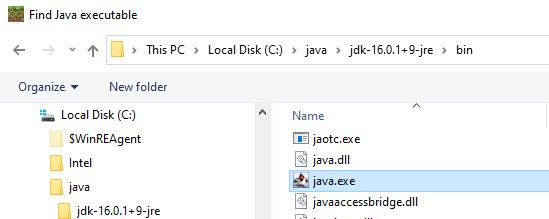
Now open MultiMC, right click on the instance icon, select “Edit Instance”. Click on “Settings”, click on “Java Installation”, click on “Browse” and locate the java.exe file inside the folder of the java JRE you downloaded and unzipped:

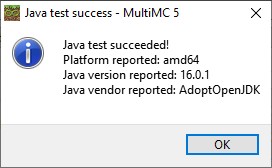
Click on “Test”. You should see something like this:

Now the instance will use the Java 16 version you downloaded, and the rest of the instances will use the default Java version set in the MultiMC General Settings.